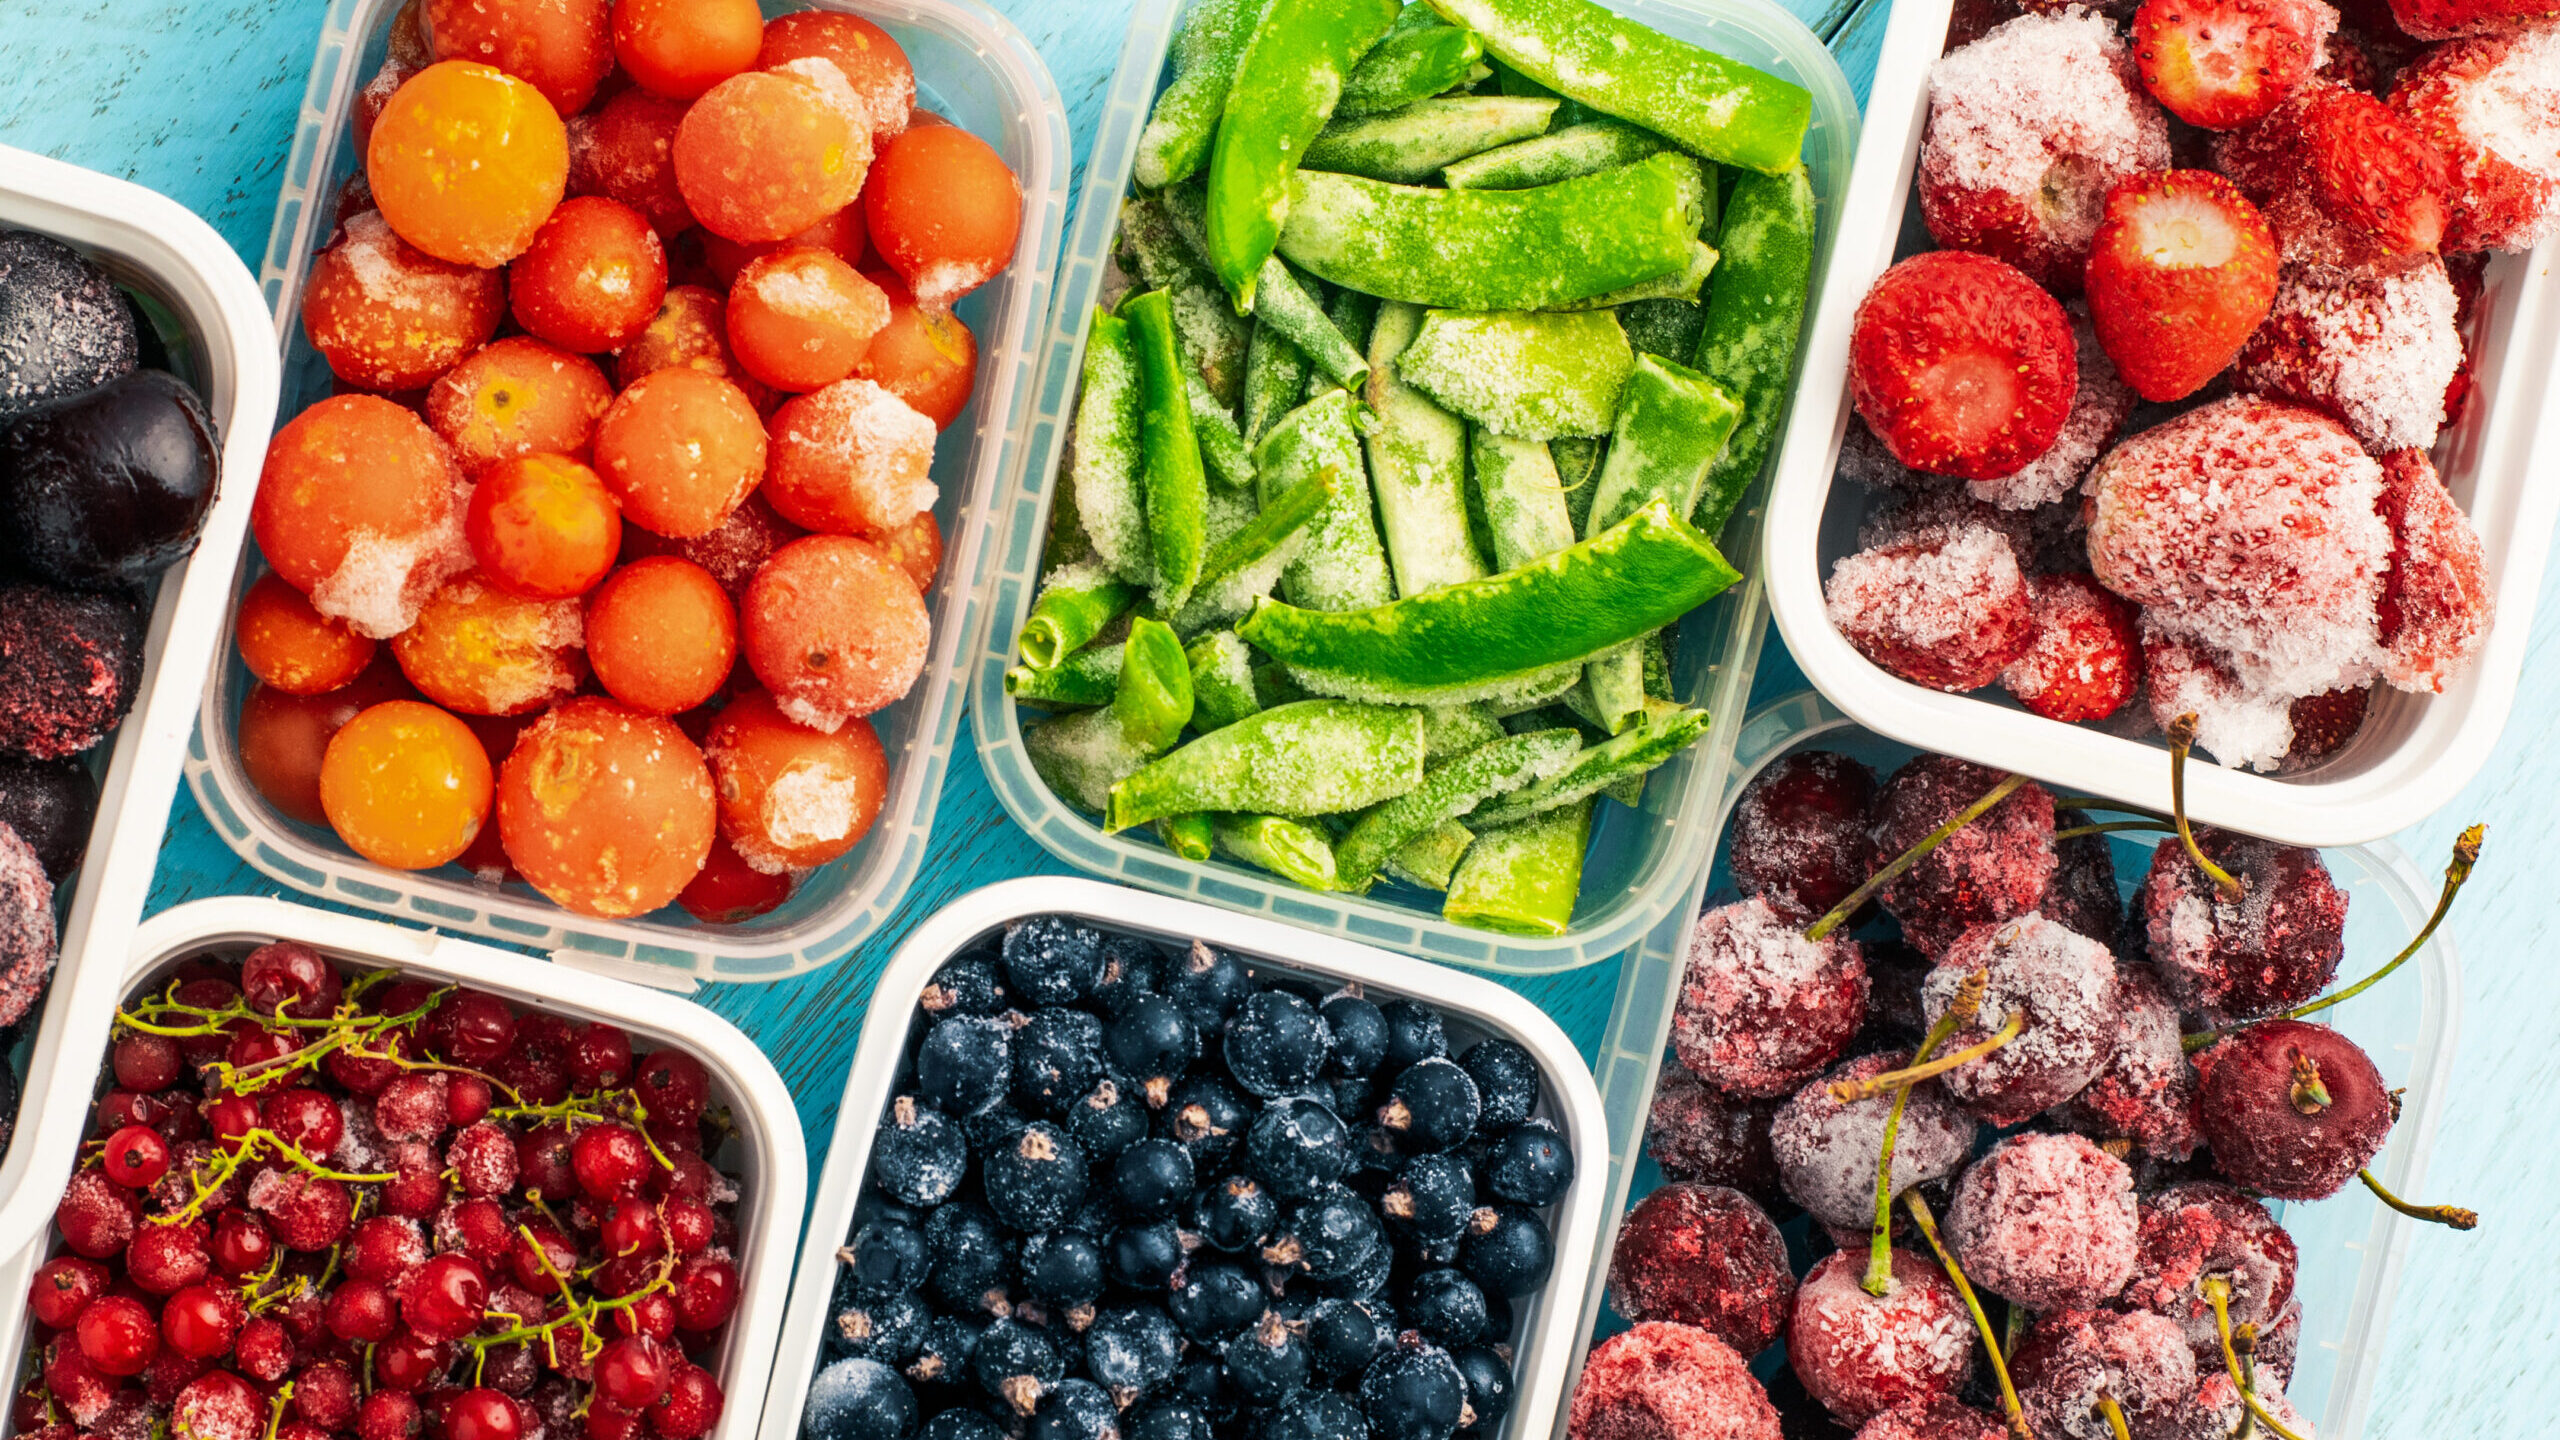
The freezer is a fantastic kitchen tool. It makes food prep a breeze, keeps our favorite foods lasting longer, lets us enjoy out-of-season fruits and veggies anytime, and helps prevent food waste — which is crucial when around 40% of all food in this country is wasted. Here are some tips for the most successful freezing.
Flash-freeze small foods
Frozen, chopped bell peppers and diced onions are great to keep on hand for any recipe. But if you transfer the fresh, diced veggies from cutting board straight to container and throw it in the freezer, they’ll end up stuck together in an icy, hard-to-use clump.
When freezing small foods like chopped vegetables, grapes or berries, begin by spreading the fresh item in an even layer on a lined baking sheet and freezing for 30-60 min. Now when you transfer the food to a larger container to store in your freezer, the pieces will stay separate, and you’ll be able to easily grab the amount you need each time.
Blanch your veggies before freezing
When it comes to vegetables like green beans, broccoli and carrots, blanching before freezing is a good idea to help preserve their quality, color and nutrients. Simply add the vegetables to boiling water for a minute or two (this deactivates the veggie’s ripening enzymes), then scoop them out and immediately place in a bowl of ice water. This “shocks” the vegetable and stops the cooking process. Blanch one type of vegetable at a time, and don’t forget to flash-freeze before storing!
Prevent freezer burn
Freezer-burned foods are perfectly safe to eat, but the taste and texture won’t be the same. The ice crystals burst the cell walls of fruits and vegetables, making them mushy once thawed. To help prevent freezer burn, use an air-tight container; start with cold food (refrigerate it first); set your freezer to 0°F; and don’t cram-pack your freezer — give everything inside a little breathing room. The more crowded the freezer, the slower things take to freezer, and the more likely they are to get freezer-burnt.
Freeze in portions & label containers
Your future self will thank you for freezing in individual portions. Stews, soups and chilis can be frozen in a muffin tin (and then transferred to an airtight storage container) for quick lunches. Pesto or stock can be frozen in ice-cube trays so you can use just the amount you need. When freezing loaves of bread, slice them first (if necessary) so you can grab individual slices later on.
- Always check that what you’re freezing in is freezer-safe. Glass jars are great options, but if you’re freezing liquids in them, be sure to leave a couple inches of free space at the top to allow for expansion.
- Use clear containers when possible, so you can easily see what’s inside. Label containers with the date and contents.
- Consider putting a piece of paper or whiteboard on the freezer door to keep track of what you’ve stored. This can help prevent you from forgetting that leftover casserole in the back of the freezer!
Defrost safely
Not everything needs to defrost — frozen, chopped peppers and onions can go straight into the frying pan; frozen, sliced bread can go right in the toaster; and frozen berries can be immediately added to the blender for smoothies. But when you do need to thaw foods, the safest ways are in the fridge overnight, in the microwave, or in a bowl of cold water, changing the water every 30 min. or so until thawed. Don’t let food thaw on the counter or in warm water, as this promotes bacteria growth.
Sources
welcometothetable.coop/food-lifestyle/cooking/get-your-freeze-on
welcometothetable.coop/food-lifestyle/cooking/blanch-and-freeze-fresh-vegetables

