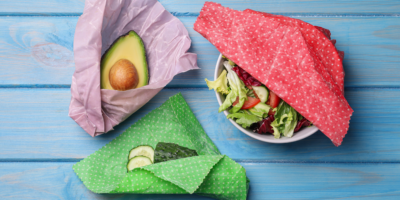
Pick up some beeswax beads in our bulk section and make your own reusable beeswax food wraps.
These beeswax wraps are designed to respond to the warmth of our hands, making them pliable enough to mold around any container, similar to plastic wrap. When properly sealed, they’re even capable of retaining liquids!
Step 1: Flattening the Fabric
To begin, you will want to either iron the cotton fabric you are using for the reusable food wrap or rinse it out and let it dry flat to eliminate any significant creases. While minor wrinkles do vanish, major will remain after this process is complete. This doesn’t affect the functionality of the wrap, but it does impact its aesthetic appeal. Also, while it’s not essential to fully wash the fabric with detergent, doing so does result in a softer fabric which is easier to manipulate during food wrap use.

Step 2: Prepping your Food Wrap for the Oven
Preheat the oven to 200°F and lay your fabric flat on a baking sheet. The size of your reusable food wraps will be determined by the size of your baking sheet; if you have a larger flat sheet, use it! (But, having a lip on the sheet can be beneficial for excess wax when making multiple wraps.) Sprinkle or grate your beeswax onto the fabric, ensuring an even distribution. Place it in the oven; it doesn’t need to be completely heated as beeswax melts easily. Stay nearby as the wax will typically melt within 3 minutes at this temperature. However, it’s forgiving—if you become occupied with other tasks and it takes 10 or 15 minutes, there’s no harm done.

Step 3: Spread the Beeswax Evening and Remove Excess
Once the wax has completely melted, you’ll notice bubbles and pockets forming, which, if left unattended, can lead to imperfections in your wrap, compromising its structural integrity and appearance. To address this, grab your foam brush and use it to squeegee out these air pockets – the imperfections will magically disappear. However, it’s important to work quickly before the wax begins to harden. Should the wax solidify before you’ve had a chance to smooth out the air pockets, don’t worry – just return it to the oven and allow the wax to melt again.
Step 4: Cool Down your Beeswax Food Wrap
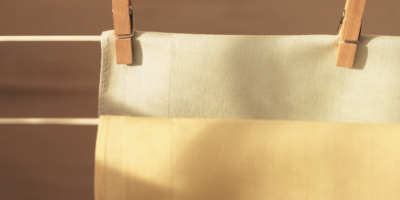
After you have removed the fabric from the pan, give the fabric a little wave to help cool it down further. You will feel the reusable food wrap stiffen under your fingers. All the fabric to hang for another 5-10 minutes or until cooled completely.
Step 5: Ready to Use!
After the wraps have completely cooled, they are ready to use! Just place over food and cover with your hands. The natural warmth from your hands will soften the wax on these reusable food wraps, allowing them to mold easily and create a seal that preserves food freshness for longer periods, all while being environmentally friendly!

Maintenance
To clean the beeswax reusable food wraps, simply use some soap and cold water. After washing, fold them up or lay them flat to store them in the same convenient spot where your plastic wrap used to reside. These wraps can be reused multiple times before the beeswax starts to diminish, typically lasting about a year. Store them at room temperature or in the refrigerator for optimal performance. It’s important to note that they won’t prevent freezer burn. Additionally, avoid placing them in excessively hot environments, such as a car or outdoors during summer, as this can compromise their effectiveness.


